Wednesday, August 31, 2011

One Flower Wednesday and some mail to share


One little flower again this week , too busy with other things but last evening I sat down and made this little chocolate colored flower ,odd I know but I love this little print so I created a new variety of flower ;-)I have a plan now for my flowers but when I will get around to actually doing it is another thing entirely but I think I will do at least one block soon to see if my plan will work , I will keep you informed . I have decided that sewing all those hexies together into a Grandmothers Flower garden is not going to happen, I love those quilts but it just won't happen so I must be realistic and come up with a faster plan and I think what is swirling around in my head since a while will be great or I hope it will . To see more flowers and growing  gardens be sure to head on over to visit with Karen of Journey of a Quilter who is our lovely hostess .

Yesterday as I was heading out the driveway to go quilting at the church I thought I would check the mailbox to see if there was any mail and to my surprise and delight these two postcards were in the box. You see I had signed up for a postcard exchange on a yahoo group and the theme was My Happy Place . The card on the left is of course a door and Heather says her happy place is behind this door , her home ,isn't it sweet . Then the card on the right I am sure you can already guess is the prairies , the Canadian praires ,Saskatchewan to be exact and Monika made this fantastic landscape of the wheat and canola fields of her area that she so loves and I am not sure you can see clearly but she has embroidered little flowers in the foreground to depict the wild flowers growing along the road side , she also did some threadpainting of the grasses and I have to say I was doing a happy dance when I seen this card , it is simply gorgeous . I have one more card to arrive so will be watching my mailbox closely and promise to share it when it arrives . One last call for the postcard exchange , if you are interested please email me and send your address and I will give you a partner and away you go , now you can see what fabulous mail you can receive how can you resist , come on I know you want to do this , it isn't hard honest . Oh here is a picture of the back of the postcard to show you that it goes through the mail with the stamp on the back and note how she has printed the word postcard , apparently the postoffice wants that on there ,it is so neat that they do arrive just fine , I was a little intimidated the first time putting it straight in the mail without an envelope and the person at the postoffice had never seen a fabric postcard before so was also surprised but thought they were rather neat .
Posted by Picasa
I am off to work on my little project I shared a couple of days ago I do have a time frame to get that done so best not waste any more . Have a terrific day and may the sunshine on you today .Thanks for stopping by it is always a pleasure to have you . hugs Sheila

Tuesday, August 30, 2011

Tuesdays Treasures

Today is Tuesday so that means sharing something that I treasure along with our hostess
Melody of The house on the Side of the Hill .
I was in my sewing room when I was thinking about what I could share today and there in front of me was this wonderful water color that was given to me by Jean Skinner a fellow quilter as a gift for taking part in a Round Robin a number of years ago , isn't it just sweet , so perfect for a quilter and especially one who happens to love hanging out clothes on a line ;-0 Sorry for the poor quality of the photo , the sun was shining in and it was really difficult to get a decent angle . Now to the right of this picture there is another one I want to share and I may have shared this before I am not quite sure but if I did it was a long time ago. This one is actually a magazine and yes it is still intact . As you can see it is a Mc Call Needlework magazine and the year is Winter 1941-42 and the cost $.35 , what I really love about this is this is a picture of a project that is done with crayons ,I just love this picture and the soft colors . I got this from my hubby's great aunt (his grandfathers sister) Bessie and I really do treasure it . To see more treasures be sure to stop by and visit with Melody , she always has something interesting to share and thanks for stopping by today . Hugs Sheila

Monday, August 29, 2011

What's new on my design wall ?


I can't give away too much here as this is going to be a gift but I have started a quilt and it consists of these two style blocks , I am doing it mostly in reproduction prints and a couple of small prints as I didn't have quite enough variety in the reproduction prints I had.Thank you to  Cyndi of Blue Bird Wings for these sweet prints , she sent them to me a long time ago and I have had this project in my mind but just never got around to doing it , you know what I mean don't you ;-0 It is fun working with these delightful prints , reminds me of my childhood , oh dear I am giving away my age here aren't I , but seriously I remember my Mom making us dresses with similar prints as well as aprons , a requirement in our house . Must get back to the ironing board , oh before I go a little tip for you , somewhere I read this great tip but do not remember where ,however it sure is a good one. What is the tip you ask , well craft foam , yes that cheap stuff you can buy at the dollar store is absolutely perfect to have beside your sewing machine and when you are making blocks set them up the way they need to be sewn on the foam and you will find they do not slip and slide and won't fall on the floor either , it really works !So head on out to a craft store or the dollar store and buy a package and set one beside your machine , you won't be sorry.
Oh by the way Irene swept through without any damage , infact we had some rain and lots of wind but nothing too much to handle , the winds continued all day today but the sun was shining so nothing to complain about and I am thankful this storm is now history.
Thanks for stopping by and have a great day.
hugs Sheila
Posted by Picasa

Saturday, August 27, 2011

Three more postcards

One of these postcards will be heading off to my partner in the postcard exchange but I won't say which one but my plan is to get this mailed the first of the week so I will have that off my list of things needing doing . There are six participants in the swap, I had hoped for more but six is better than none and I do hope everyone has fun with this .
I have made these two landscape postcards and then I had this paper pieced sewing machine that I made many moons ago and it is far from perfect but was about the right size for a postcard so I got that ready as well . You see most anything will work . I think I will just surprise someone with this one . If anyone else would like to exchange a postcard please let me know as you will still have plenty of time to make one postcard and send it off .
We are now bracing for Hurricane Irene, it will probably not make it to Nova Scotia until tomorrow sometime and hopefully by that time it will be downgraded to a tropical storm and not do too much damage in its path . My prayers are with New York in particular as I was watching CNN last night it sounds like it is really going to do some damage there . All those on the East Coast stay safe and take care and I hope the storm is not as destructive as they think it will be .
Blessings ,
 Sheila

Posted by Picasa

Friday, August 26, 2011

On with the Show

Pull up a chair and make yourself comfortable , you might like to make yourself a cuppa or a tall glass of cool lemonade and a snack or two as I have quite a few photos to share . This quilt show took place in a church in a neighboring town ,it is common for churches to host quilt shows in this area as a fund raiser and I am so glad they do as I never tire of seeing quilts so on with the show and I hope you enjoy my photos.
This gives you an idea of how they display the quilts on the church pews and this is not a small church so there are a lot of quilts on display ,more than they had last year and also they are all for sale . In this church it is not a stipulation that they are all handquilted so you do see some machine quilted work by some talented machine quilters .
As many of you will know by now I love scrappy quilts so this one took my eye , just love it!!
Another scrappy one .

Another star quilt , I do love star blocks .
This is a lovely sampler quilt is soft colors .
Lots of movement in this quilt .
 I took this picture for those purple lovers out there .
 I was a little surprised to  see this one for sale as it is an antique cathedral windows , how can they sell it , it is lovely.
A simple nine patch with gorgeous machine quilting.
Isn't this Mother Goose quilt adorable !
A simple design with a rather interesting border .
I wanted to call this lady and ask her if she wants to sew my hexies together and make me a quilt like this , I know all those One Flower Wednesday gals will love this one , makes you want to make more right!
Loved the addition of applique in the corners of this beauty .
I loved the quilting in this one too , sure wish I could do that :-)

I won't push my luck , this is the last one for now , another great scrappy quilt , why am I so taken by scrappy , well probably because I have so many  ;-) I hope you enjoyed this little show and I do have one more show to share which is a local quilt guild but that is for another day . Hope you have a terrific Friday .
 hugs Sheila


Thursday, August 25, 2011

What's on my design wall ?

I have decided to join Sunny of Quilting Dreams in a Stay at Home Round Robin. My dilema was to decide what block to make .Hmmmmmm , I love baskets and flowers so my first choice was a basket block but alas I did not like the flowers or perhaps the fabric so onto block two and I flipped through numerous quilt magazines , yes I do have a few and I came across a great block that I felt was perfect with Fall just around the corner and since I love fall colours this spoke to me and I went with it .
 So here is my oak leaf block , I love oak trees so this is perfect but what did I do with the basket you ask , oh this gal is not one to waste much of anything so as I was putting away the flowers I had cut I came across some flowers I know I had fused together years earlier , I mean years and it was like magic , I placed them on top of the basket that had yet to be appliqued and I loved the result so I immediately commenced hand appliqueing the basket since that is how it was cut out and then ironed on the flowers and machine appliqed them down and this is the result and I love it . However I still think for the RR    I will go with the oak leaves and just maybe add a little something to the basket to make it larger , what do you think ? Any suggestions ? When I placed this on the design wall it didn't show up so I added the dark fabric behind it so you could see it a little better . You know it has been so long I have absolutely no idea what those flowers first started out to be used for but I am happy they didn't get used .
 I am sure if you are interested Sunny would be happy to have you join in on the fun .
 Before I go I wonder if anyone can give me some guidance with blogger , I have changed my header but would like it to be smaller . Oh to be computer literate , I would really appreciate any help you can give me ,I'm trying to learn how to do this but it is all so foreign to me ,thanks
Enjoy your day and thanks for stopping by I love to have you visit . hugs Sheila

Wednesday, August 24, 2011

One Flower Wednesday and Henrietta Whiskers update

Another lovely day here on the east coast with a touch of fall in the air . Today is One flower Wednesday and I have actually managed to make a flower , shocking huh .Well if the truth were told I made this when my granddaughters were here as I taught them to make them as well and there is another one floating around that I also made during that time but it seems to have wilted or something so for now I will share this lone flower .By the way Alyssa and Caitlin along with their mother Diane really loved making the flowers , my regret is I forgot to take pictures of their completed flowers :-(  To see more lovely gardens in bloom be sure to visit with Karen or lovely hostess for One flower Wednesdays .
 I also have an update on Henrietta Whiskers , I've finished the block for August so just one more block to make and I must say I have thoroughly enjoyed making these blocks , they are just too darn cute and if you want they are still available so just click on the icon on my sidebar and it will take you to the patterns which are only available for a short time so don't waste too much if you want them . 
I hope you have a great day and thanks so much for stopping by . hugs Sheila

Tuesday, August 23, 2011

Tuesdays Treasures

I promised last week to show you the camera we had bought on the white elephant sale in the Annapolis Valley so I thought it appropriate to share it for Tuesdays Treasures as I really think this is special and hope we can find film to try this out . I know it is possible as I have googled information on the camera and actually seen film that was made as recently as July of this year but getting it around here might be not be possible but perhaps on line. So here is our new to us Canon Reflex Zoom 8-3 in what I would say is mint condition , even the leather case is really great and I found it interesting to have this tag attached to the strap to show this has travelled to England on the Bibby Line which I also googled and found it was a shipping line and this lady was  a passenger .There are also lens caps with different filters for picture taking , I was extra happy the manual was still in tact and in the camera case .You can see on the handle a place for a tripod which would probably be a wise thing to use as this is heavy all metal not like the cameras today .I'll let you know if I ever find film for it but even if we never do it is a neat thing to own  and our middle son Roger loves old cameras so I know he would be thrilled to own it  ;-0 Thanks to Melody for being our weekly hostess for Tuesdays Treasures and to see more treasures or to join in and show us a treasure you have be sure to stop by and visit Melody of The house on the Side of the Hill . Thanks for stopping by and enjoy your day. Hugs Sheila

Monday, August 22, 2011

Ready for a show ?

I have a few quilt shows to share but will start with a small show at a local church  , this little church has been having a quilt show and sale for at least 25 years as a fund raiser for the church and it is always a pleasure to see , small but quaint .  Here is how they display the quilts , perhaps not the best for viewing but as I said space is limited in the church hall , however the ladies are very accomodating and will take any quilt you ask for and spread it out onto the bed they have for that purpose so you get to see it open fully so you can appreciate the work so much better . One thing to note all quilts here are hand quilted and all for sale , none are permitted if machine quilted ,I am sure over the years that will change but for now that is the rule . Each person who adds a quilt to the show pays a nominal fee and then if their quilt sells they also pay a nominal percentage to the ladies of the church a win win situation . I don't think I took pictures but there are other smaller items also for sale and a few hooked rugs as well .Ok on with the show.
Here we have a lovely sampler quilt , there is just something special about samplers and this was beautifully quilted .

I loved the colors in this one , it would make a lovely fall quilt , simple design but so effective .
 There were a few small crazy quilts and not to be mean but the price was crazy too , I think this one was $900 and it is not even a lap size but oh it is pretty .
Another crazy quilt and I will show one more all by the same lady and all rather pricey . The outside border is velvet on this one , pretty for sure .
The final crazy quilt , it is nice but not quite as pretty as the other two in my humble opinion but of course that is in the eye of the beholder isn't it .
 This quilt was eyed by my granddaughter Alyssa and she asked that it be placed on the bed and I must admit that once on the bed I was totally in awe , I know for certain the picture does not do this justice at all it truly is magnificent with more detail than any quilt I have seen in a very long time . I want to share a few close ups of the blocks as the little additions of embroidery that you might not see without a close up is well worth showing . I hope you enjoy these photos as much as I did viewing this quilt.
Here we have a robin at her nest surrounded by flowers , oh everything is hand appliqued .
The best way to see a skunk ,note the little spiders or ants crawling along and the cute turtle investigating the skunk , too cute.
A squirrel gathering nuts for winter and the little mouse checking things out as well .
For the bunny fans out there this is so sweet , just love this block .
This is part of the border where there are lots of flowers appliqued and little spiders , frogs and bees etc. Such detail , incredible really  , it must have taken a very long time to complete this quilt.
Finally I will close with this one which is of the top of the quilt , aren't these birds gorgeous as they are enjoying a treat of some berries , there are flowers appliqued in yet another border above this and I could show you more but I think perhaps I have shown you enough for you to appreciate the work that went into the making of this quilt , I love it because I love animals and birds and also because the fabrics chosen are perfect for each element where they were used , I do wonder if perhaps this was a kit but whoever did the fabric choices really has a knack for getting the right one for the right place . 
So that's it for today's show , I know I concentrated on this woodland quilt but I just had to share it and hope you like it too,later on this week I will give you a few photos of another show I attended .
 As a closing I am wondering if there are any others interested in taking part in the postcard exchange , the cards do not have to be mailed out until the 21st of Sept so lots of time to get this small project complete , please let me know , thanks .
 Enjoy your day .
 Hugs Sheila


Friday, August 19, 2011

Crazy Quilting Friday

I am taking part in a crazy quilt block RR with a few friends so was trying to come up with a block I liked well enough to pass along ,it took four blocks before I finally got one that I wanted to use , the funny thing is I forgot to take a picture of that block but have one of each of the other three so here they are .  A few of my friends know I am not a fan of paper piecing so it may surprise them to see these blocks as each of them has some PP in them . This first one is a rose in the center ,hmm hard to tell huh , but I actually really like this block but just could not see myself finishing around all those seams I created  ;-) So onto block two , ok I think I would like to do a teacup so found a great pp pattern for a teacup in two styles , choose one of those and proceeded to choose fabrics that I liked and this is my first teacup block
Michelle you may just recognize the fabrics I used for the cup and saucer , I loved it but felt I should have added a few lighter fabrics so on to a lighter version of the same teacup pattern .


A much lighter version which I also love but it just wasn't what I was looking for , truth of the matter is I didn't know what I was looking for but this time knew I was on the right track I wanted lighter and I wanted it to be about tea , crazy huh , so I combined the two themes and my last block has a theme of "Tea in my Garden " too bad I was so slack and did not take a picture ,I was having issues with my camera , even when doing the tutorial I nearly drove myself crazy trying to get a decent picture , remember my little camera that I dropped and broke well DH fixed it for me and I have been using it along with another small camera I had replaced it with but the broken camera is just not working the way it use to and the new camera I have yet to learn the proper settings :-(  So DH surprised me yesterday with a new camera , this is more complicated but oh so nice I am really looking forward to learning the proper way to use it but even these pictures are much clearer than any I took with my old camera . I took new pictures of the blocks to try it out and I am really pleased with the clarity .
So enough rambling , I now have three extra blocks to add to my growing stash of crazy quilt blocks , I do need to start sewing them together but it looks like it will be Sept. before that happens.
 Thanks for stopping by today and if you have never tried making a crazy block go ahead and give it a try you just might get hooked .
 Hugs Sheila

Thursday, August 18, 2011

Postcard Tutorial and Swap sign up

Good morning everyone from a sunny gorgeous day here in Nova Scotia , are you ready for some fun ?Ok I am going to give you a tutorial on how to make a postcard , I am no expert by any means but will give this my best shot and please realize this is my way of doing this and I am sure there are several other ways that this can be done and possibly easier but this has worked for me so here we go .
 As with any project the first step is to assemble your supplies and for this the list is not that long and certainly not expensive it will even use up some scraps , oh did I hear a big YEAH , well it really is just a small amount of fabric so dig into that scrap basket and really have some fun.
  I'll share a photo of some of the things I use , so in this photo you will see first off a photo which is optional but a good way to start if you plan on making this a  landscape postcard . Then you will see some wonderunder which I will explain later , some unbleached cotton , timtex or that can be heavier weight iron on interfacing , heat and bond lite , permanent fine tip marker , ruler and of course fabric . Not difficult so far right :-)


So the first step is to take that photo and trace just the main features onto freezer paper , don't try to make it exact and of course you can simply draw a basic landscape with some soft flowing lines , you will find that works best not sharp points .Why freezer paper you ask , well ,because once you have traced off the photo you will cut it apart along the lines and iron it onto your chosen fabrics ,iron it to the right side of the fabric and when you cut these pieces out remember to leave a scan seam allowance in areas that will need to be overlapped ,also because we are going to iron this onto a slightly larger piece of fabric than the finished product add a little more onto all sides as well which you will trim off later  ,I have probably really confused you now but hopefully this will make sense later on. To the right you will see my drawing , I did not use the photo I simply drew out a landscape that was pleasing to me , and below is the drawing that is now cut apart on the lines. As you can see my shapes are very simple , so next I will choose some fabrics that I think will look best for this scene . I love finding just the right fabric and sometimes it surprises me just what fabric works ,so be creative and don't too concerned about getting it to look like your photo ,this is your creation remember . 
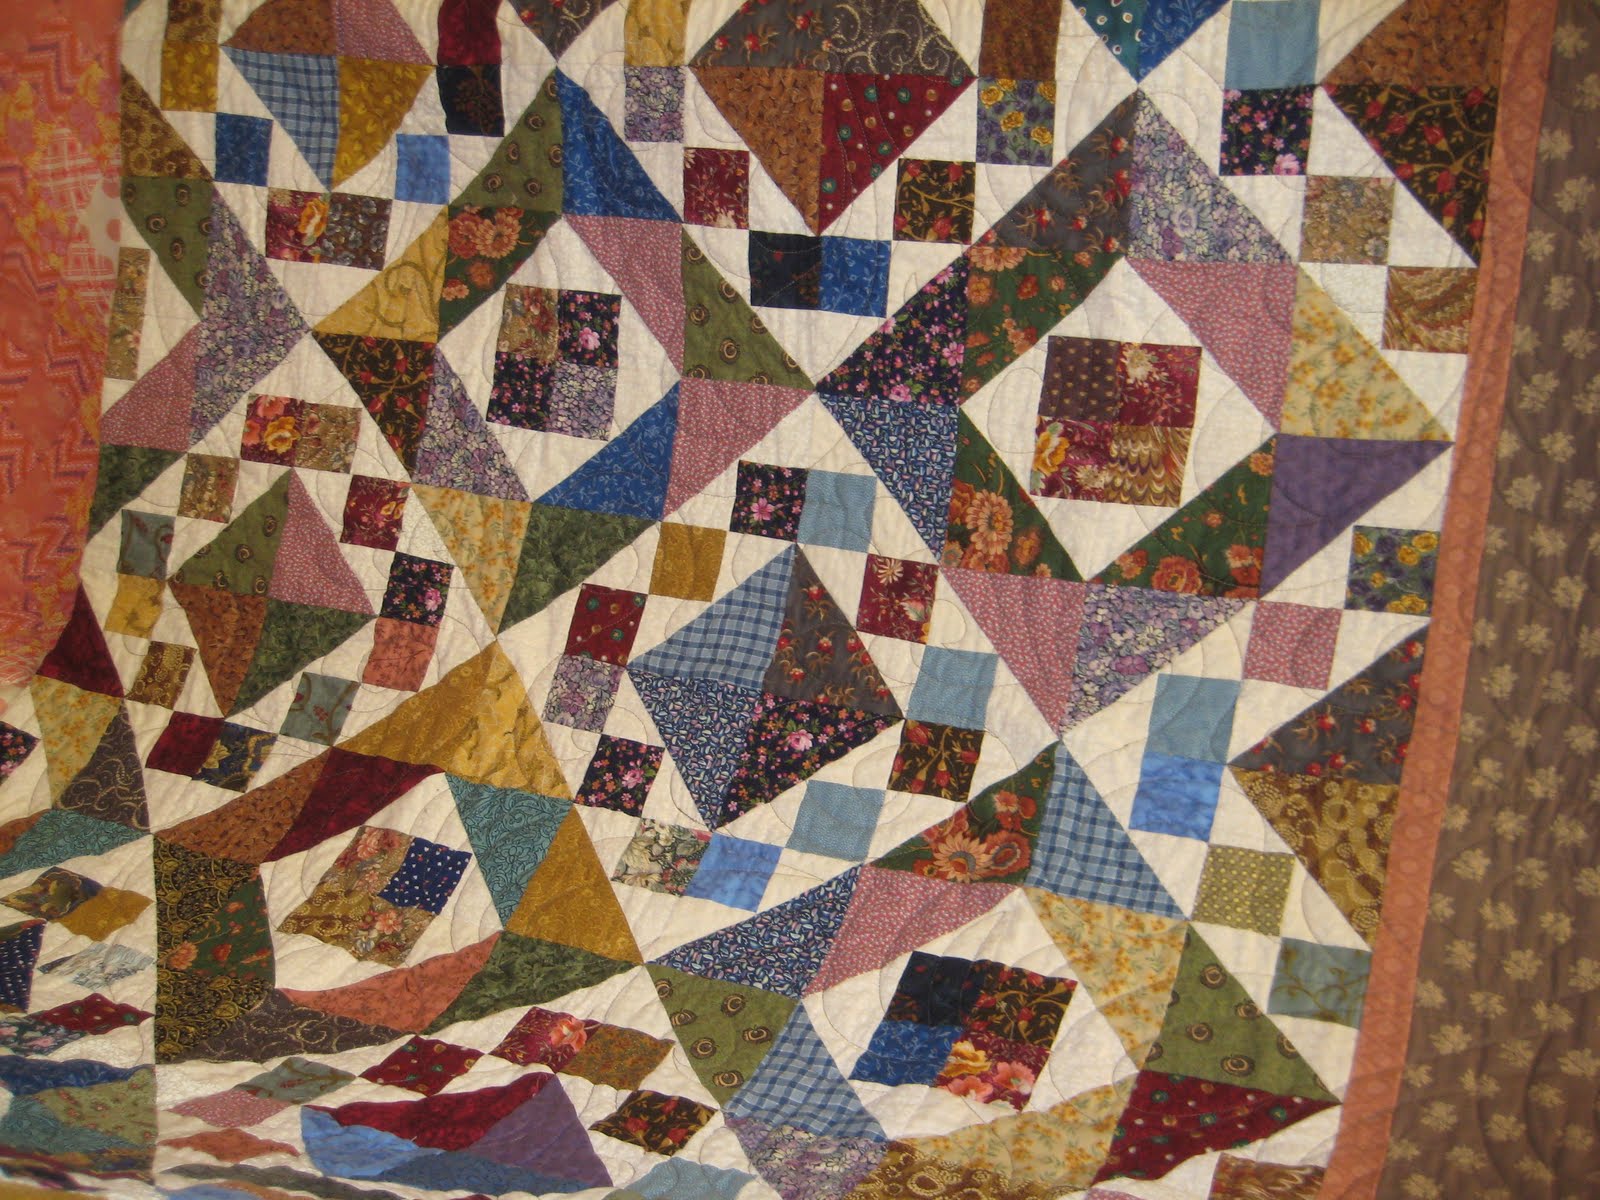
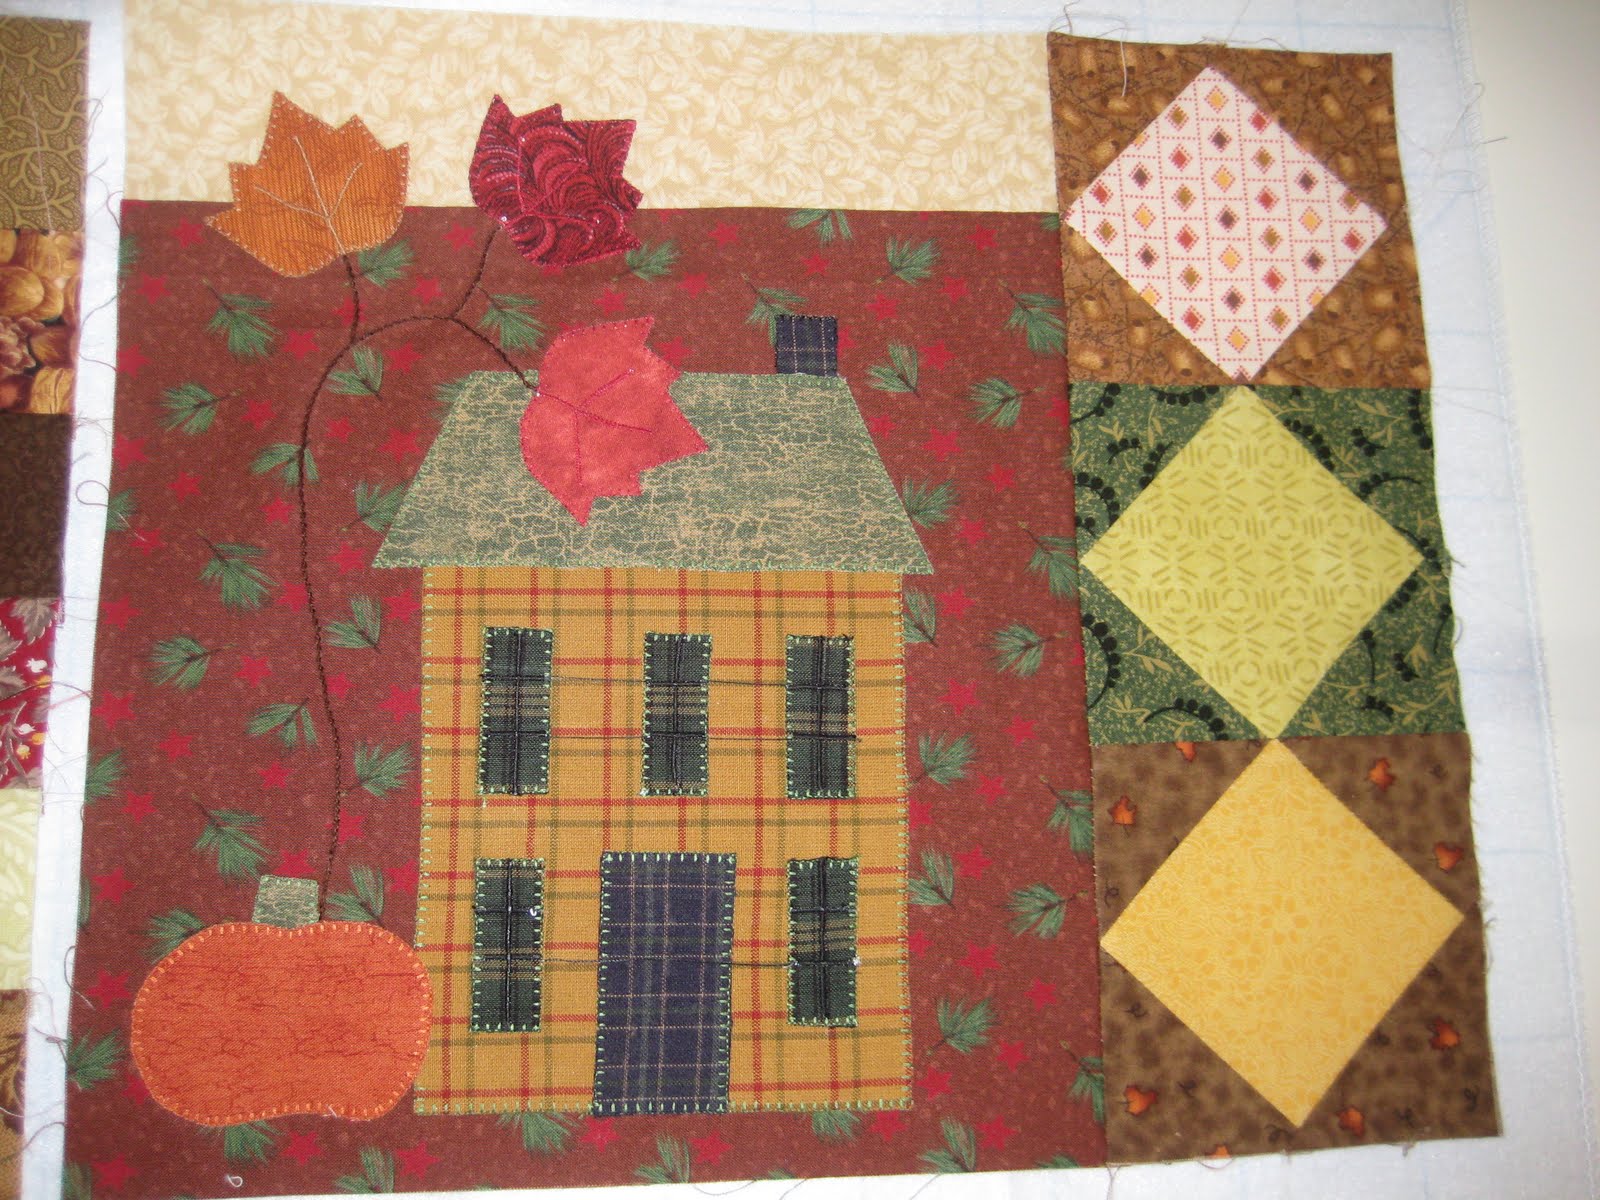
Now I should stop here and say that your postcard does not have to be a landscape infact most aren't , it can be most anything, you can applique flowers , birds whatever really or perhaps you love crazy patch well nothing nicer than a postcard done in a crazypatch design or even string piecing both using up those scraps and then you can embellish however you wish but do remember this is going through the mail so it has to be secure .


So at this point we have chosen what we are going to put on our postcard , have our drawing cut and ready to go and our fabrics chosen for the various parts of the front of the postcard . Now you will need to get your unbleached cotton cut ,cut it a little larger than 4x6 which will be your finished size , then cut a piece of wonder under or similar product the same size and iron that on the cotton . Peel off the paper once that is cool and take each piece of your landscape and lay it on the top of the wonder under , you may want to use a little glue to hold it in place but it isn't really necessary , once you have everything in place with things overlapped where needed take your iron and iron these on , oh you might want to protect your ironing board with an applique pressing sheet and even place a piece of parchment paper over the ironing board if you do not own a pressing sheet . Another good idea is to use the paper you just peeled off the wonder under to place over your project to protect your iron as well. Here is my postcard after ironing on the fabric to the front . I have not sewn anything down yet   Not to confuse you more but you could also use the heat and bond lite and trace off your pieces remembering to add those seam allowance and simply iron them on the front of the unbleached cotton ,you would need to reverse your photo though. Alright so now you have the front ready for embellishment , in this case it will be stitching , it is your choice how much stitching you do but each piece must be secured to the background in someway . A very small satin stitch or zigzag or even just a straight stitch very close to the raw edge will work fine , I just added a photo of stitching along the edges of the fabric pieces but blogger will not allow me to move it where I want it :-(  . If you like to thread paint this is the time to do that , you can add a thin batting if you want but not not too thick !Have some fun with the embellishments ,if you are doing something other than a landscape you can add lace ,ribbons, wool , your choice of design.
So now your front is complete iron on another piece of wonder under or heat and bond to the back of the front . Then, iron on some timtex to your back , which in my case is another piece of unbleached cotton but can be any plain piece of cotton as you will be writing on it so you want to be able to see what you have written. Some timtex comes with a fusible backing while others will need something to iron it onto ,so in if this is the case iron on  a piece of wonder under  to the backing then to the timtex .Then you will iron the front and back together ,hope this makes sense ,I know it seems like a lot of ironing stuff on but that is what holds it all together , then trim your postcard to measure 4x6 "and draw a line down the middle of the backing and you are ready to address it . Now onto your last step ,you will need to do some stitching around the entire piece ,I use a satin stitch as I find it encloses the edges the best. In this postcard I experimented with a different stitch to finish it off but to be honest I don't like it as well .
Lastly I will show you three cards I just completed two landscapes and an applique one so you can see the possibilities are endless . I hope you can understand this tutorial and if you have any questions or suggestions please be sure to pass them on as I am open to suggestions on how to make this process easier , the important thing is to have fun .
 Wasn't that fun , ok it will get easier after you make a few and  as I said if you have any questions please ask and I will do my best to answer you .   Do I have anyone interested in exchanging postcards , if so please comment and then also send me an email with your address and I will choose a partner for you and I promise not to share your info . Let's say you must sign up by August 21 with a mail out date of Sept 21st. ,that should give me time to give you a partner and you time to get one made and mailed out , how does that sound for time ? So spread the word and lets start making those cards :-0
 Enjoy your day and thanks for your patience , this is my first ever tutorial so I could easily have misssed some important points . Before I let you go I just googled for flicker photos of fabric postcards and here is the link so you can see there are lots of creative ways to make these .
http://www.flickr.com/groups/fabricpc/
hugs Sheila